this year's diy christmas tree
/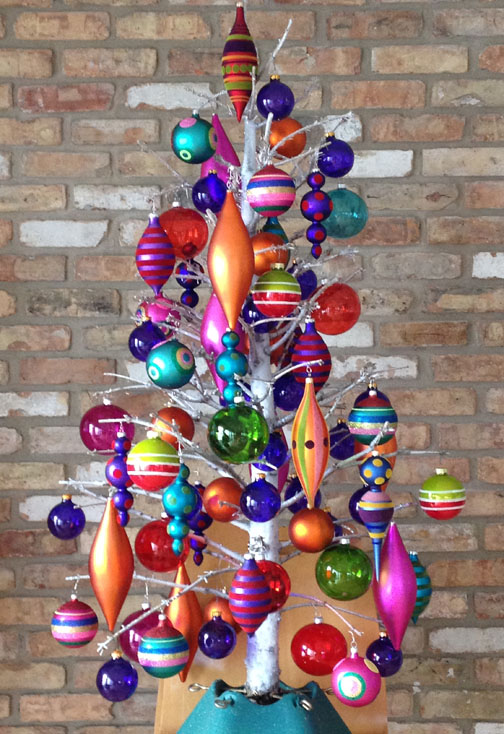
This year's table top tree! All old ornaments and last year's tree.
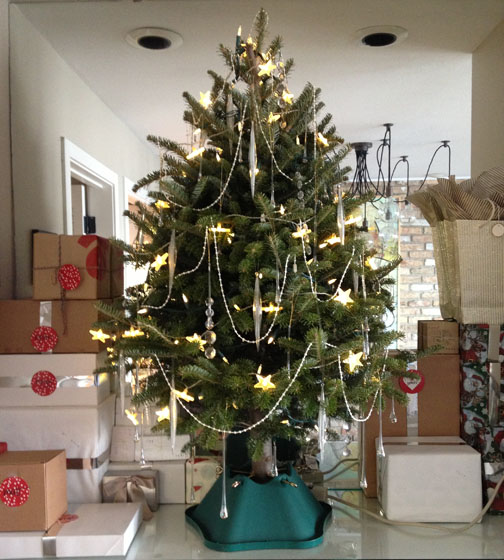
Last year we went with a table top tree because our space is small and I hate how crowded the house feels with a full size tree. This tree had a very nice shape and was the right size. I put it on the buffet and surrounded it with gifts. We liked the small tree and having it out of the way. But while pretty it felt too traditional. So.....

The tree sat outside all year while I waited for the needles to fall off. They didn't. So I stripped most of them by hand and clipped out at least half of the branches.

I then spray painted the tree white. Next I tried to glitter the tree. I have no glittering skills. First I bought a glitter and glue all-in-one product. It was far to subtle. I then went for real spray glue and real glitter. Some silver and some gold. It still did not look very glittery. I tried to add more by putting on a line of Elmer's glue and adding more glitter. Then then I just gave up deciding that enough glitter was enough.
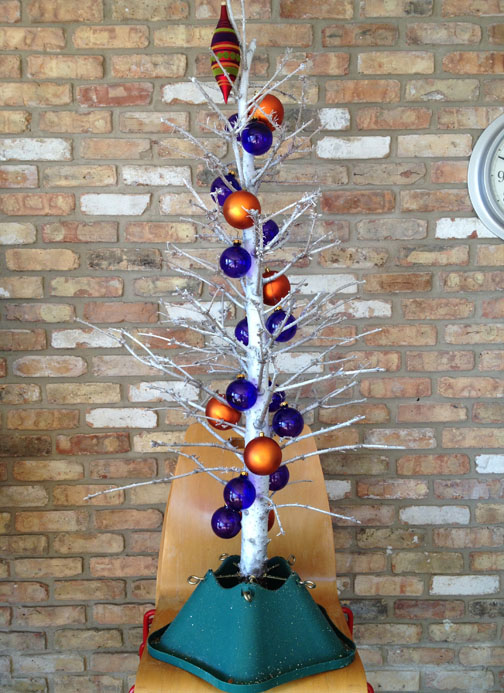
I got out all the old ornaments. Starting with the trunk I first used the purple and then the orange ornaments. From there I would add all the ornaments that matched so they were balanced on the tree working from the trunk out. I started with the smaller ornaments because that space was tighter.
I wired the ornaments on the tree. My hope is to just put the whole thing in a big garbage bag and store it somewhere and just pull it out for next year. I am very pleased with the results. More contemporary, a nice splash of color. I got out a rug with squares of bright color that repeat the colors in the ornaments.
The tree is done and I have a few other areas I'll do a little more decorating but that can wait until after Thanksgiving. Enjoy the start to your holiday decorating!